How to Set Up a Podcast Studio for Beginners
Here's the thing: you don't need a million-dollar recording studio with a fancy microphone and mic stand and all the bells and whistles to sound professional.
We're going to show you exactly how to set up a podcasting studio that delivers crisp, clear audio without breaking the bank!
Getting started with podcasting can feel overwhelming when you're staring at endless equipment lists and conflicting advice. But here's what we've learned after helping hundreds of podcasters launch their shows: the secret isn't having the most expensive podcast equipment.
Nope. Instead, it's understanding how each piece of your podcasting studio works together to create that professional audio your audience deserves.
Understanding Your Podcasting Studio Needs
A great podcasting studio really isn't about having the fanciest equipment or the biggest budget.
What you really need is a controlled environment where your voice shines through clearly and consistently. Think of your podcast studio as your audio sanctuary. It's a place where background noise disappears and your message takes center stage.
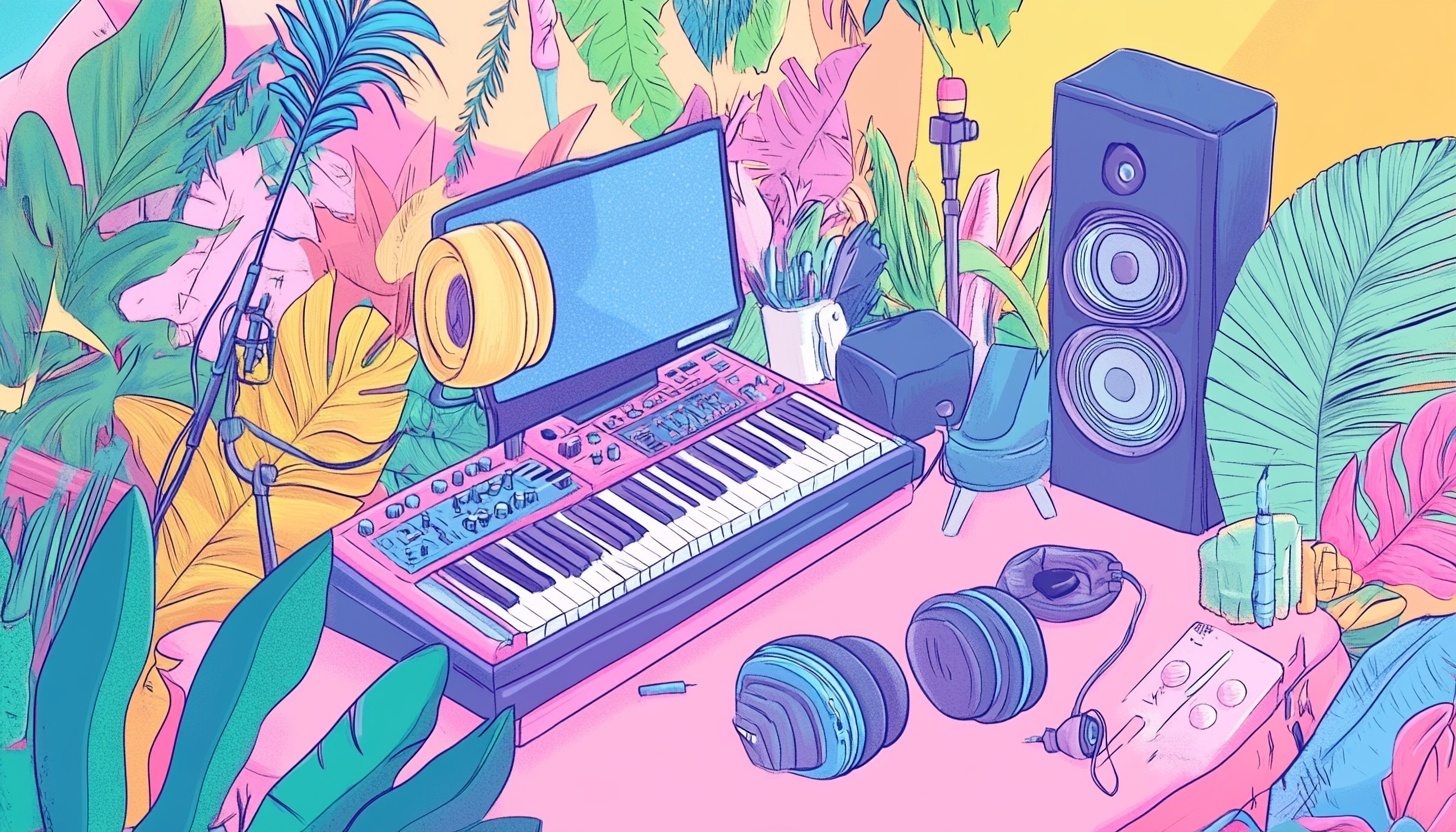
The core of any effective recording studio revolves around four essential elements:
- capturing clean audio
- monitoring what you're recording
- processing that audio properly, and
- creating the right acoustic environment
When these elements work in harmony, magic happens!
Your listeners won't be distracted by echo, background hum, or inconsistent volume levels.
We've seen podcasters achieve professional results in everything from converted closets to spare bedrooms.
The key is understanding that your space doesn't need to be large. But, it does need to be controlled. A smaller room actually works better for most podcasters because it's easier to treat acoustically and naturally reduces problematic echoes.
Before diving into equipment shopping, let's talk about your space and budget realistically. Walk through your living space and identify the quietest areas, away from air conditioning units, traffic noise, and household sounds.
Budget-wise, you can create a functional recording studio for anywhere from $200 to $2,000, depending on your goals. Start with essential equipment first, then add accessories and upgrades as you develop your skills.
Related: How to Make a Podcast for FreeHow to Make a Podcast for Free
The Four Pillars of Your Podcast Studio
Choosing the Right Microphone for Your Audio Setup
Your microphone serves as the gateway between your voice and your audience. This is about picking up sound, and it's about capturing the nuances, warmth, and personality in your voice while rejecting unwanted background noise.
A quality microphone designed for voice recording will make more difference than any other single piece of equipment in your podcasting studio.
Dynamic mics excel at rejecting background noise and handling close-up recording, making them ideal for home environments that aren't perfectly acoustically treated.
Condenser microphones offer incredible detail and sensitivity but also pick up more background noise.
For most beginner podcasters, we recommend starting with a dynamic microphone until you've optimized your recording environment.
USB microphones plug directly into your computer, offering simplicity perfect for beginners. These USB mics eliminate the need for an audio interface initially, making them ideal for podcasters just starting out.
XLR microphones require an audio interface but provide more flexibility and upgrade potential as your recording studio evolves.
Popular brands like Audio Technica offer excellent options in both USB and XLR formats that deliver professional results.
When evaluating mics for your podcast, consider frequency response, sensitivity levels, and build quality.
Audio Technica microphones, for example, are known for their reliable performance and excellent value for podcasters at every level.
Audio Interface: The Digital Bridge for Professional Audio
While USB microphones offer convenience, an audio interface unlocks the full potential of professional XLR mics while providing features that USB options simply can't match. Many podcasters eventually upgrade to an audio interface setup for superior audio quality and greater flexibility.
An audio interface converts your analog microphone signal into digital data with much higher quality converters than most computers have built-in. They also provide phantom power for condenser microphones and enable real-time monitoring with zero delay.
This immediate feedback loop is crucial for maintaining consistent audio quality throughout your recording sessions.
Entry-level audio interfaces can deliver surprisingly professional results for your recording studio, with many successful podcasters using interfaces costing under $200. When choosing an audio interface, consider the number of inputs you need.
Solo podcasters can start with a simple two-input interface, but if you plan to have guests in your recording studio, consider interfaces with four or more inputs.
Related: Best Podcast Formats to Get More ListenersBest Podcast Formats to Get More Listeners
Headphones: Essential Monitoring for Every Podcaster
Headphones are your window into what your audience actually hears. We can't stress this enough: every podcaster needs to monitor their audio while recording!
Headphones let you catch problems in real-time, adjust your technique, and ensure consistent quality throughout your recording session.
Closed-back headphones isolate you from outside noise while preventing your headphone audio from bleeding into your microphone.
Open-back headphones offer more natural sound reproduction but aren't suitable for recording in your podcasting studio because they leak audio.
Look for headphones with relatively flat frequency response, meaning they don't artificially boost or cut specific frequencies. This accuracy helps you make better mixing decisions and ensures what you hear matches what your listeners will hear on their devices.
Comfort becomes critical when you're wearing headphones for hours during recording and editing sessions.
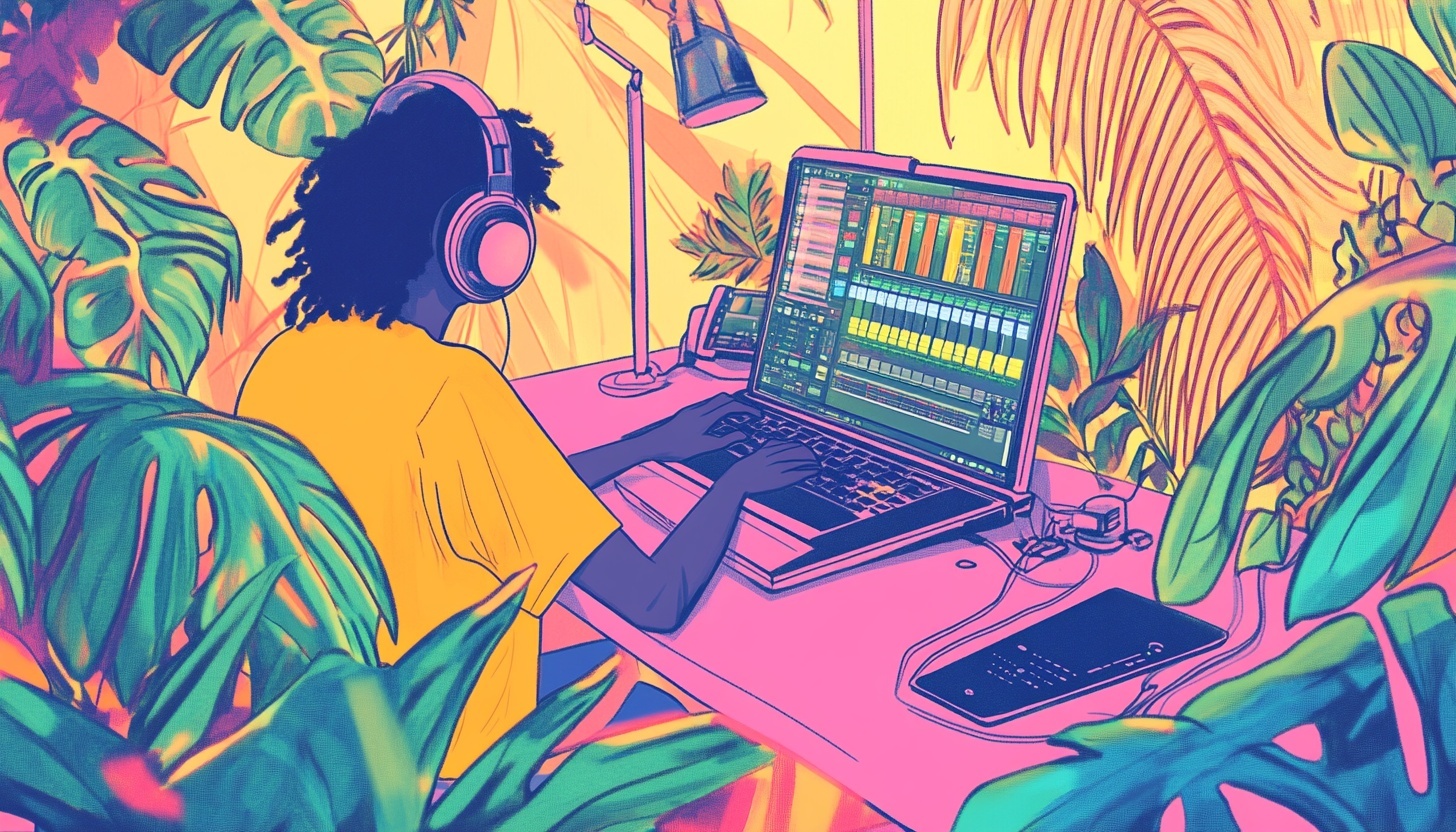
Recording Software: From Audacity to GarageBand
Recording software, or your digital audio workstation (DAW), is where everything comes together. Excellent recording software options exist at every budget level, including several free options that rival expensive professional tools.
Audacity stands out as the most popular free option for podcasters.
This open-source audio editor works on both PC and Mac, offering all the essential recording and editing features new podcasters need. While Audacity might not have the polish of paid software, it's incredibly capable and has helped launch thousands of successful podcasts.
GarageBand offers another excellent free option for Mac users.
This Apple software provides a more user-friendly interface than Audacity and includes built-in effects and music loops. Many podcasters find GarageBand's workflow more intuitive, especially those already familiar with Apple's ecosystem.
Cloud-based recording solutions excel for remote interviews and collaborative podcasting, handling the technical complexities of recording multiple participants while maintaining high audio quality.
Essential Setup Techniques and Accessories
Microphone Placement and Technique for Better Audio
Proper microphone placement can make a budget mic sound great, while poor placement can make an expensive microphone sound terrible.
Position your microphone about 6-8 inches from your mouth, slightly off to the side to avoid breathing directly into it.
Consistency is everything! Once you find positioning that works, mark it or set up your recording studio so you can reproduce that exact placement every time.
Pop filters are also a great idea for professional audio. They eliminate most plosive sounds while maintaining your voice's natural character.
Whether you're using USB mics or XLR microphones with an audio interface, maintaining consistent technique ensures your podcast maintains professional audio quality episode after episode.
Soundproofing and Acoustic Treatment Basics
Room acoustics can make or break your recording studio, regardless of how expensive your equipment is. Hard surfaces create echoes and reverb that muddy your recordings. While true soundproofing involves expensive construction, basic acoustic treatment can dramatically improve your audio quality.
You don't need expensive acoustic foam to achieve good results. Thick blankets, heavy curtains, and even strategically placed furniture can dramatically improve your recording space. Focus on treating the wall directly behind your microphone first, as this prevents the most problematic reflections.
Soundproofing differs from acoustic treatment. Soundproofing prevents sound from entering or leaving your space, while acoustic treatment controls how sound behaves within your room.
Most podcasters recording in a home podcast studio focus on acoustic treatment rather than full soundproofing, which is often impractical and expensive.
Bookshelves filled with books naturally diffuse sound, making them excellent additions to any recording studio. The key is breaking up large flat surfaces that can cause echo problems.
Controlling Background Noise for Clean Audio
Air conditioning systems, computer fans, traffic noise, and household appliances all compete with your voice for attention. Sometimes simple solutions like recording at different times or temporarily turning off appliances can eliminate most problems.
Whether you're using Audacity, GarageBand, or other software, noise gates can help suppress low-level background noise. However, it's always better to eliminate noise at the source rather than trying to fix it in post-production. Your recording studio should be as quiet as possible before you start recording.
Recording and Editing Essentials for Podcasters
Setting proper recording levels prevents distortion while maximizing your signal-to-noise ratio. Whether you're using USB microphones or an audio interface setup, aim for peak levels around -12dB to -6dB, leaving plenty of headroom for unexpected volume spikes.
Essential editing techniques in Audacity or GarageBand include removing "um"s and long pauses, adjusting volume levels for consistency, and adding intro/outro music. Keep edits natural-sounding—over-editing can make speech sound robotic.
EQ and compression are powerful audio tools when used subtly. A gentle high-pass filter removes low-frequency rumble, while light compression evens out volume variations. However, these effects should enhance your natural voice, not completely change its character.
Maximizing Your Content Beyond Recording
Once you've recorded your podcast episode, the real work begins! Post-production traditionally takes 3-4 hours for every hour of recorded content. But, modern AI-powered tools can dramatically reduce this time investment for busy podcasters.
Consider platforms that can automatically transcribe your podcast episodes and generate multiple content formats from a single recording.
These tools can create show notes, social media posts, podcast newsletter content, and even pull compelling quotes for promotion. This automation lets podcasters focus on creating great content while technology handles repetitive tasks.
The best podcast episodes contains dozens of potential content pieces! Your hour-long conversation can become blog posts, social media updates, email newsletter content, audiogram clips, and shareable quotes. Modern transcription and content generation tools can automatically identify the most quotable moments from your episodes, suggest social media posts, and even create full blog articles based on your discussions.
Think of your podcast episodes as content seeds rather than final products. Each conversation you record has the potential to reach audiences on LinkedIn, Twitter, Instagram, YouTube, and your email list.
Budget-Friendly Setup Strategies for New Podcasters
Starting small with your podcast studio setup and upgrading strategically makes the most sense for new podcasters. You can create a minimum viable recording studio for under $300 by focusing on essential equipment: a quality USB microphone, closed-back headphones, free recording software like Audacity or GarageBand, and basic acoustic treatment using household items.
Priority order for equipment upgrades should be: microphone first, then headphones, followed by an audio interface (if moving from USB to XLR), and finally acoustic treatment materials. Many successful podcasters start with Audio Technica USB mics before eventually upgrading to XLR setups with dedicated audio interfaces.
Avoid common beginner mistakes like buying incompatible equipment or focusing too much on gear instead of technique and content quality. A well-positioned budget microphone in a treated room will always produce better audio than an expensive microphone poorly positioned in an untreated space.
Create Your Podcasting Studio Today
Setting up your first recording studio doesn't have to be overwhelming or expensive. We've covered everything from choosing between USB and XLR microphones to selecting the right audio interface and optimizing your space for better audio quality.
Remember, some of the most successful podcasters started with basic equipment in imperfect spaces using free software like Audacity. What matters most is consistently delivering valuable content with clear, listenable audio. Your recording studio will evolve as you do. Embrace that as part of the journey rather than trying to build the perfect setup from day one.
The most important step is the first one: stop planning and start recording!
Choose equipment from each category we've discussed. Perhaps an Audio Technica USB microphone, quality headphones, and Audacity or GarageBand for editing. Set up a quiet corner of your home with basic soundproofing materials, and begin creating.
Your audience is waiting to hear what you have to say, and with the foundation we've provided, you're ready to deliver professional audio quality that keeps them coming back for more. Once you start producing regular content, you'll discover that the real magic happens not just in the recording, but in how efficiently you can transform each episode into multiple content formats that expand your reach and deepen your connection with listeners.
More blogs like this
Best AI Social Media Post Generator: Improve Your Content Creation
Whether you're managing accounts for a trendy coffee shop or a global enterprise, AI tools have evolved from simple schedulers into intelligent creative partners that understand your brand voice and audience preferences. Let's dive into everything you need to know about AI social media post generators. We'll explore what makes these tools indispensable, how to choose the right one for your needs, and how to maximize their potential without sacrificing authenticity.
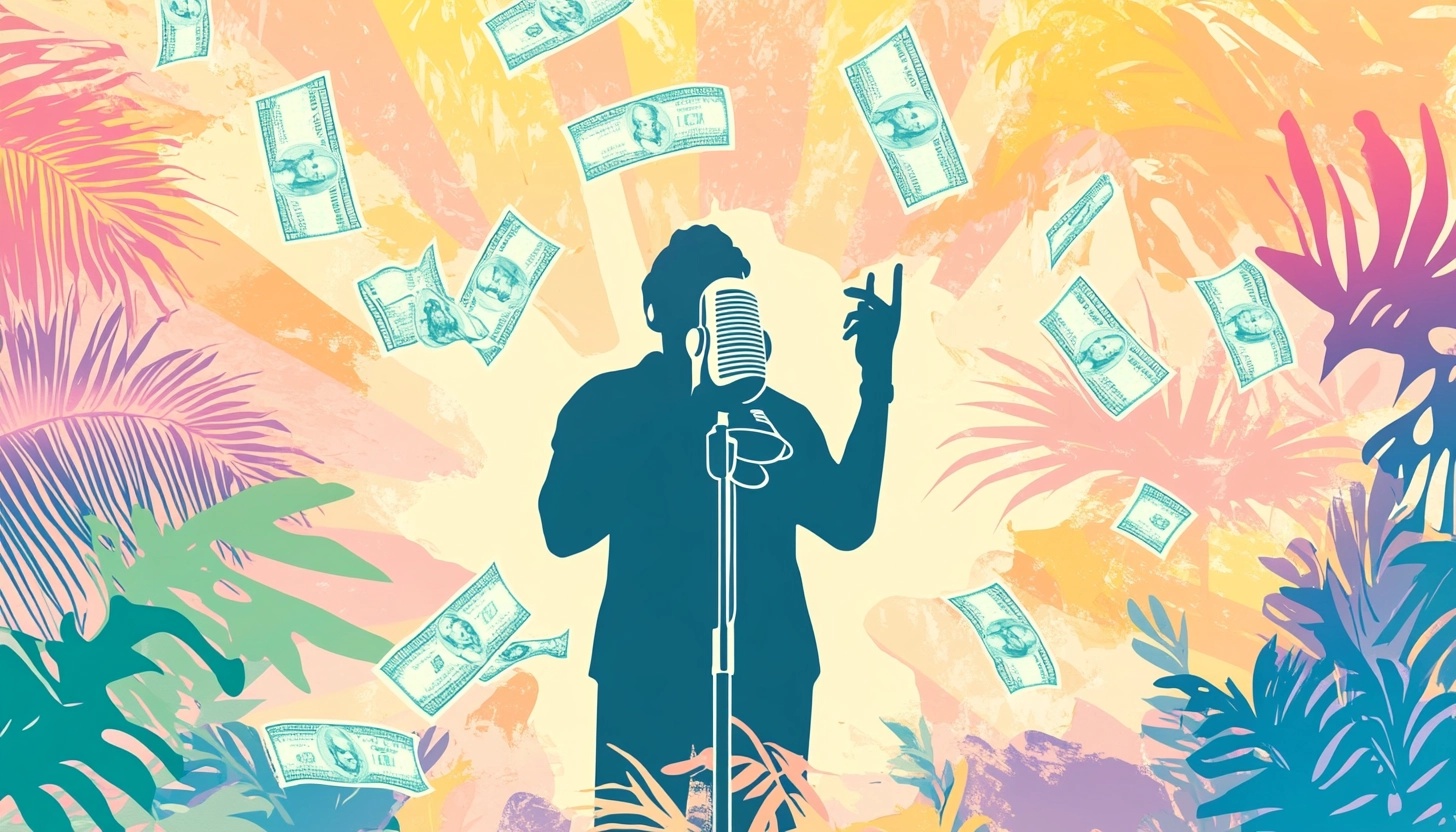
Monetizing a Podcast: What Top Creators Do to Make Money
Starting a podcast – especially a podcast that makes money – requires dedication, strategy, and a deep understanding of what makes your audience tick. Whether you're just starting out or looking to take your established podcast to the next level financially, we've got you covered with insights from the industry's most successful creators.
Podcast Background Ideas: Quick Tips for Stunning Videos
You might already know this, but a lot of podcast listeners prefer to actively watch the video while tuning into their shows on YouTube these days. And, the first thing they see isn't your carefully crafted message or your engaging personality. It's your background.

ChatGPT Alternatives: Best Free AI Tools for 2026
Whether you're a content creator needing specialized writing assistance, a developer seeking coding support, or a researcher requiring current data with proper citations, there's an AI chatbot perfectly suited to your needs. In this guide, we're looking at the top AI tools available in 2026, examining their standout features, and helping you discover which ChatGPT alternative will transform how you work.

Top 7 Best Speech to Text Apps for Accurate Transcription
In this comprehensive guide, we'll walk you through the top seven apps that transcribe speech to text with remarkable precision. We'll explore what makes each dictation app stand out and how you can choose the perfect voice typing solution for your specific needs.
Corporate Video Production Strategies for Remote Teams
Remote corporate video production, when done right, can be more efficient, creative, and cost-effective than ever before. The key is understanding how to build corporate video frameworks that work for distributed teams while maintaining the quality and consistency your brand demands.

How to Use Legit Platforms to Make Money Online Easily
The internet has revolutionized how we earn money, creating unprecedented opportunities for anyone with a smartphone or laptop to generate extra cash or even build a full-time income stream.However, navigating the minefield of scams, unrealistic promises, and time-wasting schemes can feel overwhelming. That's why we've put together this comprehensive guide to help you identify trustworthy platforms and start earning money the right way.We'll also share some realistic expectations and proven strategies that actually work. Let's get into it so you can make money!
Best Content Marketing Tools You Need for 2026
In 2026, the difference between content marketing success and failure won't just be about having a strategy. It'll also be about having the best content marketing tools to execute that content strategy efficiently and effectively.

How to Choose the Best Voice to Text Apps for You
Speech to text technology has evolved from a futuristic novelty into an essential productivity tool. Whether you're dictating emails, capturing lecture notes, or drafting content, the right voice typing solution can revolutionize your workflow.